You will need:
Woof, all! I hope you have fun with our bandana making method! You can sew by hand if you don't have a sewing machine by the way, or simply if you want to. And choose the right size scissors for your
Bark, woof, snuffle, sniff, big licks,
Earl.
The method:
Firstly, choose some old and useless material.
Secondly, cut a piece of material out of the cloth that will fit your dog's neck size.
After ironing, place the guide bandanna (if you have one) on the material.
Use the ruler to accurately mark out the shape required (usually a triangle, larger than the actual size you will need at the end).
After this, cut out along the marked lines.
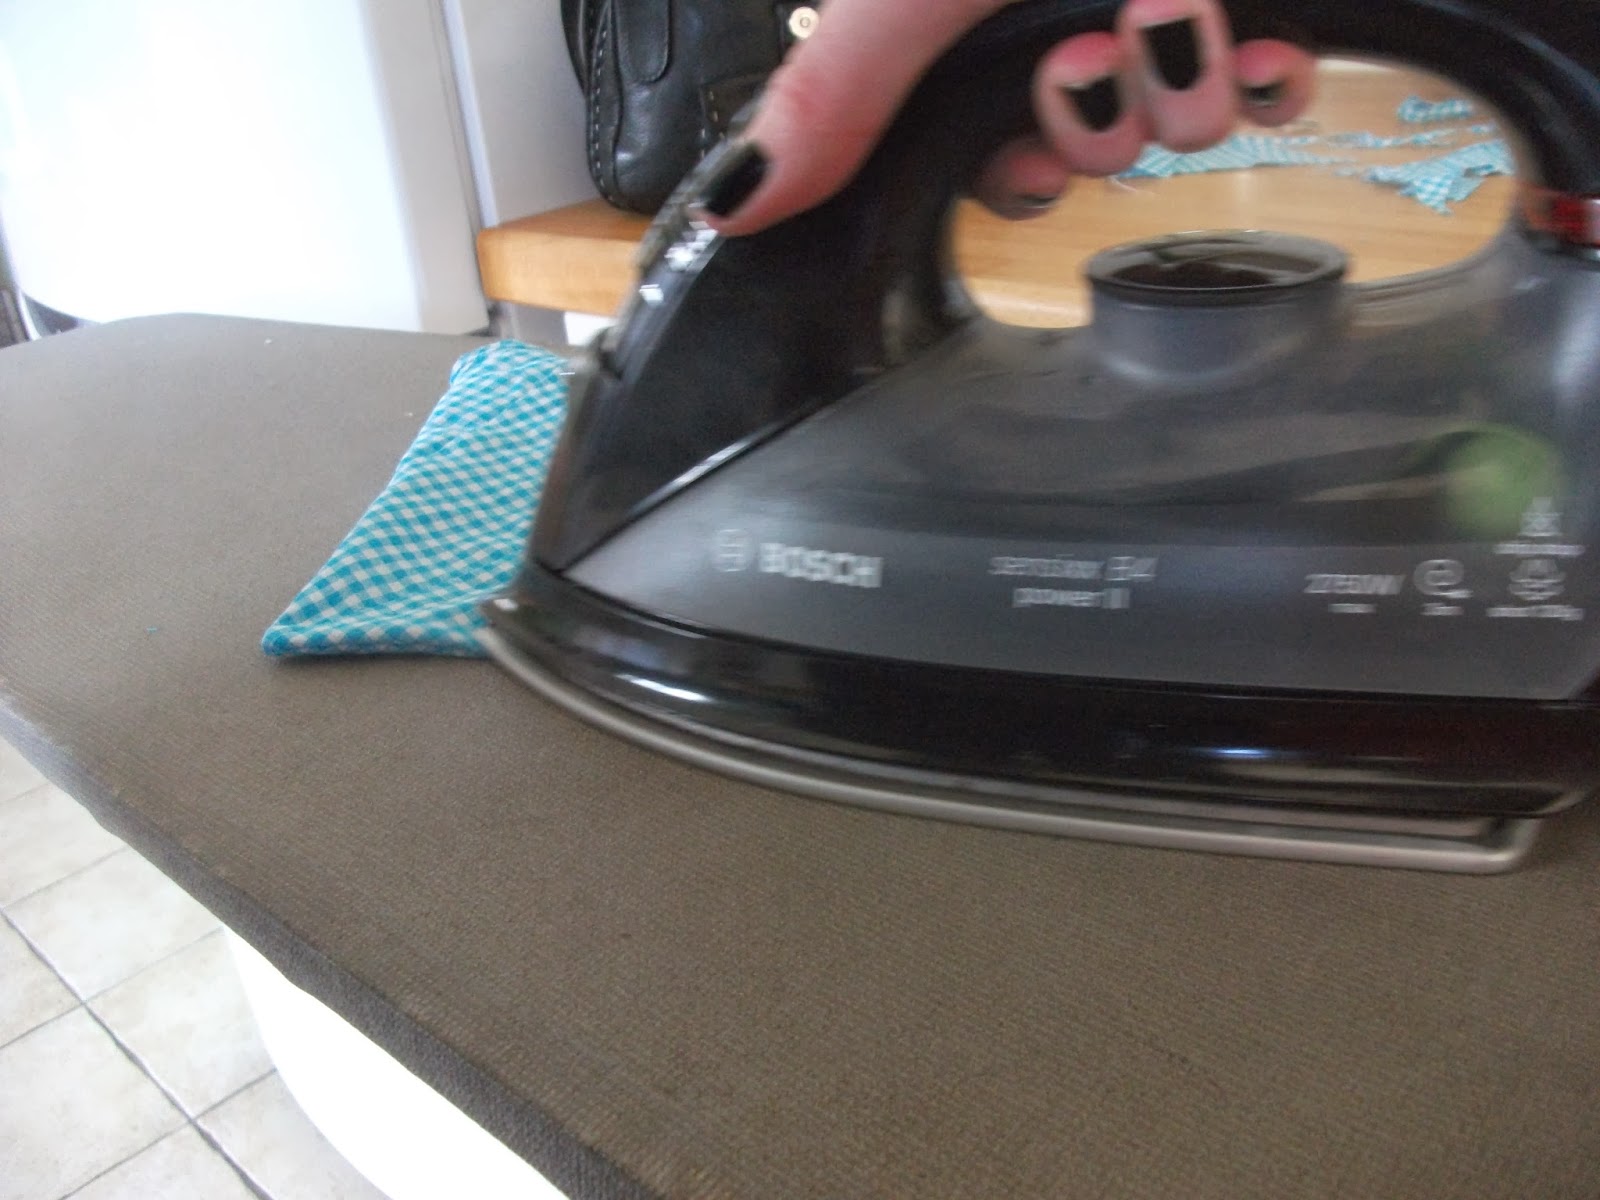
Iron this well.
After that, lay this on top of another piece of identical material you have just made, or use contrasting lining. Iron the next piece first of course.
Now, chop the corners off the pieces so they look like the following:
Its time to sew! Sew all the corners APART FROM one of the chopped corners.
Use the un-sewed corner to turn the entire thing inside-out.
Iron this out well.
Now sew up the open corner.
Now, fold over the top of the bandanna, large enough for your dog's collar to fit all the way through with the ends out.
Iron this down now so its easier to sew up.
Making sure that it is the correct size, sew it in place, leaving the correct size hole in the middle for your dog's collar.
You should now have this final result:
Its now time to attach it to your dog's collar! Take the collar off your dog like normal…
And thread the collar through.
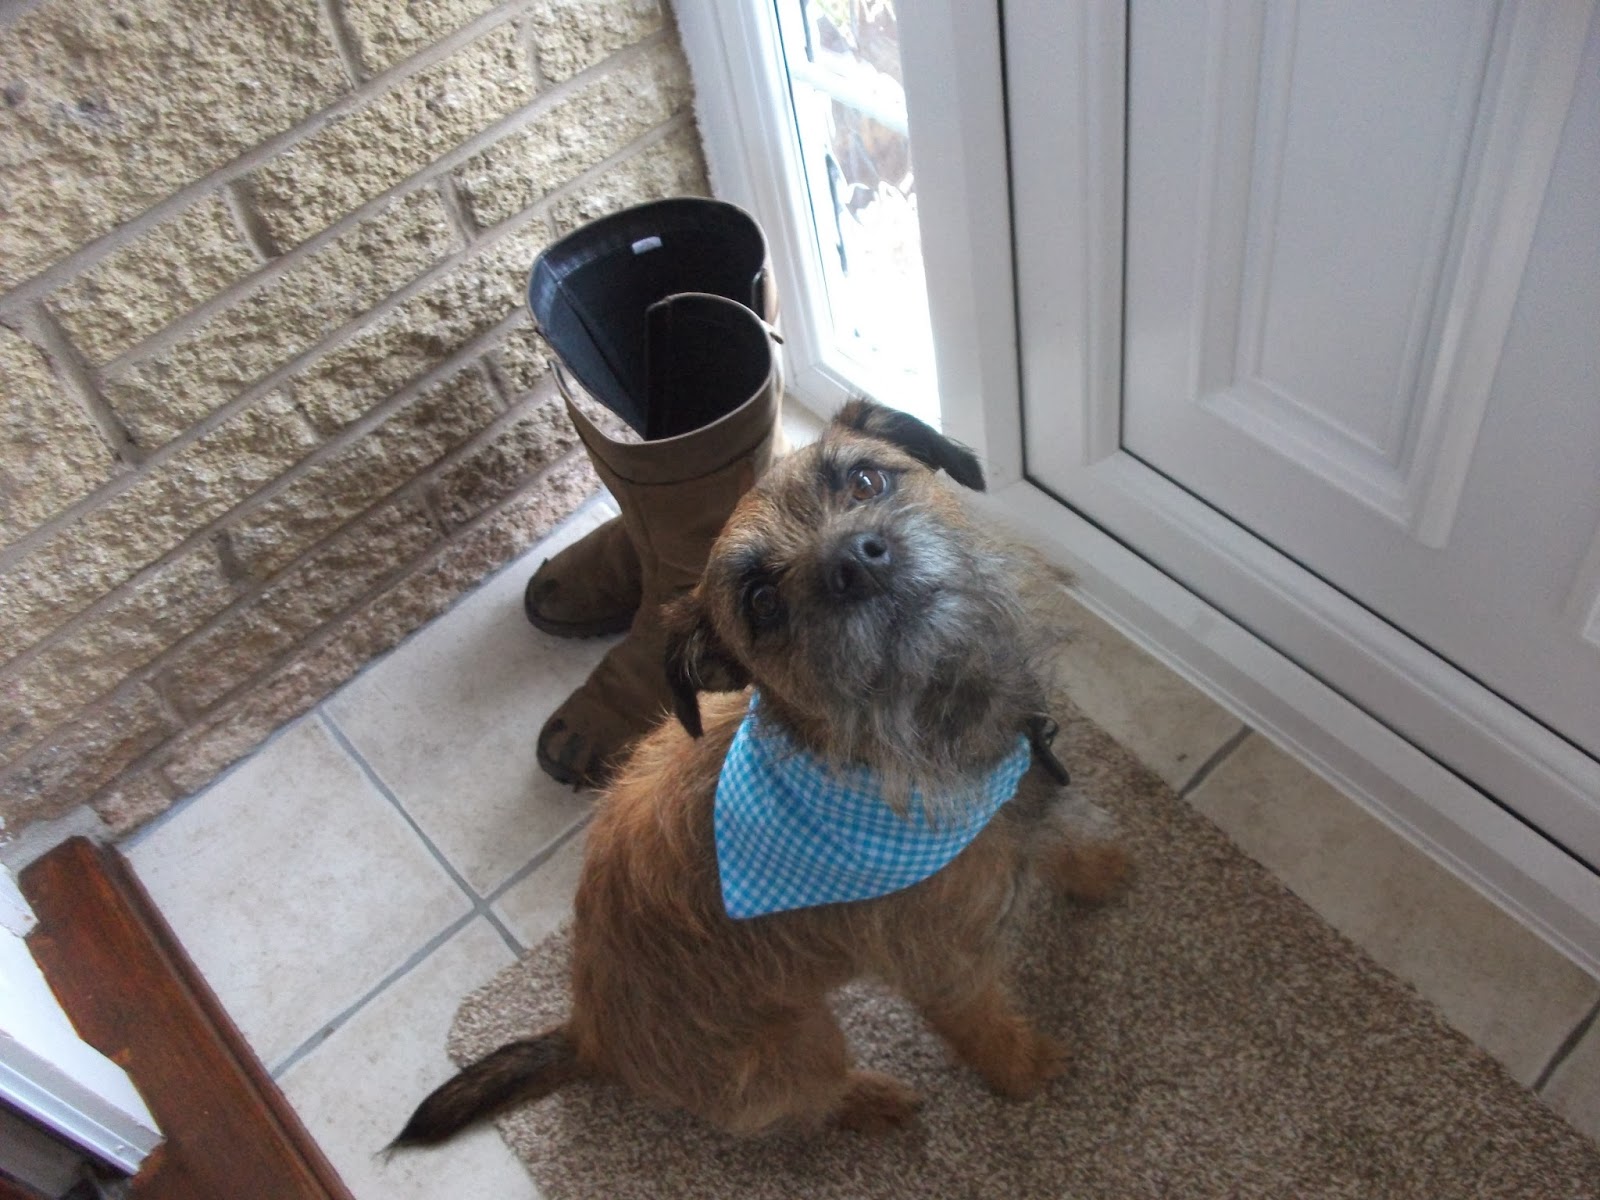
Finally, put it back on your dog like you would do his/her normal collar!!
 |
| Yawning in anticipation! |
Job well done! *High paw*
Here's some snazzy walkies photos:
We went to the pet shop with Earl wearing this and got a lot of smiles - one of the members of staff from Pets At Home commented and gave Earl a big fuss!
Now… what about the leftovers from the bandanna? Make something else cute!
We made a little doggie scarf - made out of the leftover elastic from the before 'useless' shirt.
All you have to do, is get a strip of leftover material, and tie it together at each end. Tightly tightly!! Double knot it, and stretch it over your dog's head. If it is elastic, like ours is, it should fit most size necks, however MOST DEFINITELY check so your dog is comfortable whilst wearing it.
No need to waste any material you know! Be eco-friendly!
If your dog attempts consistently to remove the accessory he/she is wearing, they may not like the feeling of it. Don't worry - you could donate it to a doggie raffle or treat a friend's or family's dog! Never leave your dog to suffer for your own benefit.
Also, we found one of Earl's old toys today whilst tidying out his cupboard section - his old red bone form the make of 'jw'! It squeaks and he loves it! It is now going to be one out in his toy box where he can get at it whenever he wants!
 |
| It squeaks!!! |
We really hope you had fun DIYing with us today!! We worked hard - it was such a fun time!
We have made a page for Doggie DIY, which you can find by clicking HERE. We will list all the Dog DIY we have made before and links to the post which enables you to make it yourself!
Plus, a big thanks for everyone who joined in the February 2014 Pinch Punch Post Blog Hop.
And don't forget to vote on our 2 weekly dog polls at the bottom of this page! There's still some time to go, so don't hesitate! This 2 weeks its all about the quality of dog food brands - a very important subject to be debated about.
Please get in touch and tell us if you decide to follow the method of DIY Dog Accessories!
Earl and I.


that really looks great
ReplyDeleteThanks!
DeleteOh wow! Thanks for sharing! I might have to try and make one! Or 3 lol!!
ReplyDeleteI'm not much of a sower but I think I could manage that at least. Great idea and Earl, you look very spiffy in your new bandana!!!
Have a great weekend!
((Husky hugz frum da pack))
You can saw by hand too LOL BTW. I hop your 3 like them! The more dogs the more bandannas of course :-P
DeleteThanks! Glad. Your company looks great for dogs and owners all over! Thanks for stopping by our blog.
ReplyDeleteGreat post! Bringing home a new dog, whether it’s a puppy or an adult, is like bringing home a new baby – you need to be prepared, and you need supplies. So, I was looking for articles on buying dog accessories and then I came across yours inspiring read.
ReplyDeleteThis is a very nice post, great one..you can also get such kind of
ReplyDeleteOnline Pet Accessories in India
It is a great post! To Buy Pet Accessories Online
ReplyDeletethere are various online shops, ours is among those few shops that provide excellent services.
It proved to be Very helpful to me and I am sure to all the commentators here!
ReplyDeleteDog Clothes